How to Make Red Velvet Cake Slice
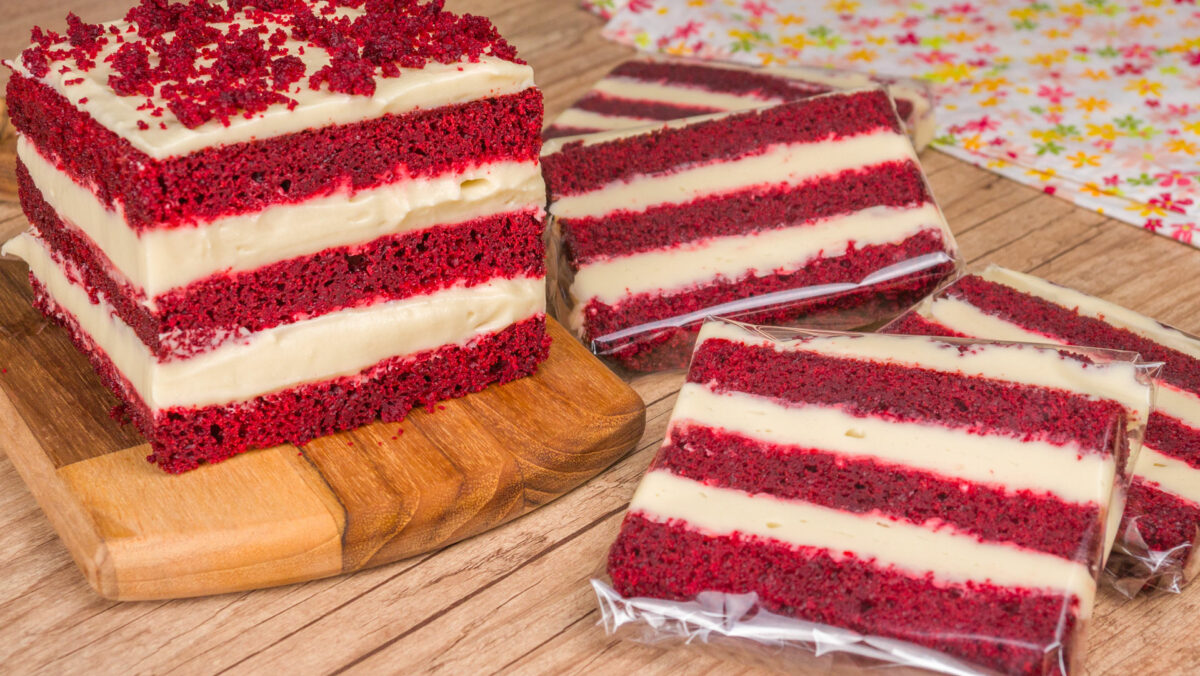
Another Cake Slice recipe, but now in the red velvet version. This is one of my favorite cakes because it's not too sweet, and the cream cheese flavor gives it a special touch. Let's learn how to make it!
Equipment
- Mixer
- Oven
Ingredients
Dough
- 1/3 cup of Milk 2.3 fl oz (80 mL)
- 2 tbsp of White Wine Vinegar 0.3 fl oz (10 mL)
- 2 units of Egg
- 1 cup Sugar 7.7 oz (180 g)
- 3 and 1/2 cups of Butter 2,4 oz (70 g)
- 3 fl oz of Natural Yogurt (85 g)
- 1 tsp of Vanilla Essence 0.16 oz fl (5 mL)
- 1 tsp of Strawberry Red Gel Food Coloring
- 1 and 1/2 tbsp Cocoa Powder 0.5 oz (15 g)
- 1 and 1/2 of All-Purpose Flour 6.5 oz (180 g)
- 1 tsp of Baking Soda 0.17 oz (5 g)
- 1 tsp of Baking powder 0.17 oz (5 g)
- 1 pinch of Salt
Filling
- 15.9 oz of Cream Cheese (450 g)
- 6 tbsp of Butter 4.3 oz (120 g)
- 1 and /12 cups of Powdered Sugar 7.4 oz (210 g)
- 1 tsp of Vanilla Essence 0.16 oz fl (5 mL)
Instructions
Dough
- In the milk, add the white wine vinegar and mix.
- Set aside to curdle and form buttermilk.
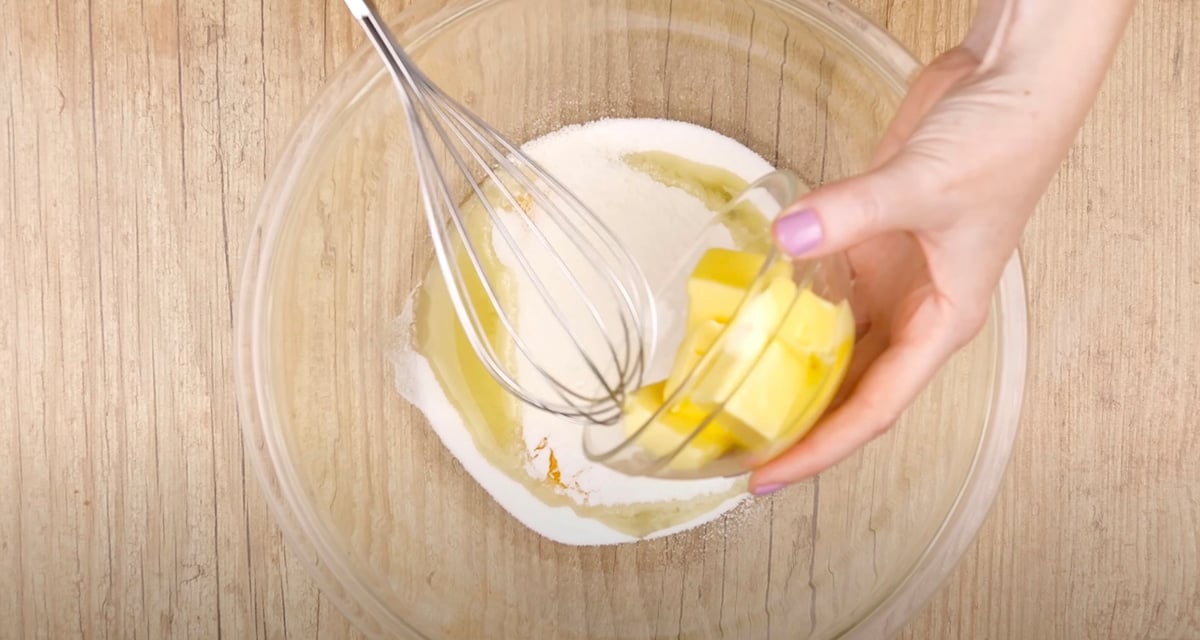
- In a bowl, place the eggs, add sifted sugar and butter at room temperature, and beat with an egg beater.
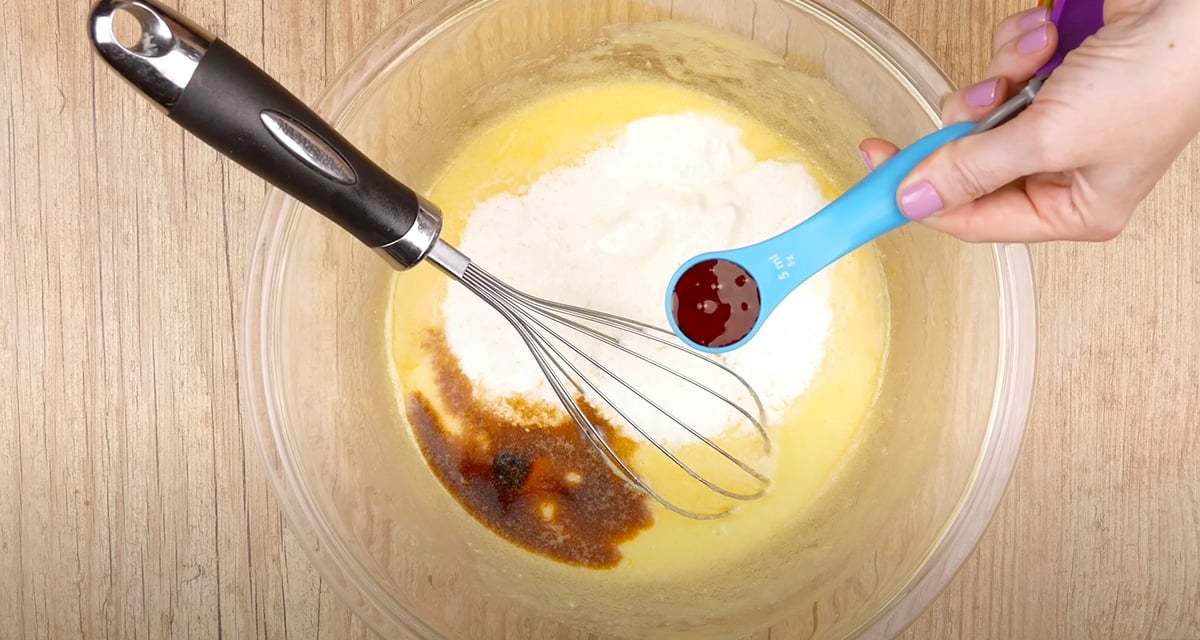
- When homogeneous, add natural yogurt, curdled milk, vanilla essence, and red gel food coloring. Mix well.
- Sift cocoa powder, all-purpose flour, baking soda, baking powder, and a pinch of salt.
- Mix everything and pour into a rectangular pan measuring 8.6 in x 3.9 in x 3.5 in (22cmx10cmx9cm) in height. Line the bottom with parchment paper. You don't need to grease or flour the sides.
- Bake in a preheated oven at 200°C (392°F) for approximately 40 minutes or until the toothpick test comes out clean.
Filling
- Place cream cheese and butter in the mixer and beat for about 2 minutes until smooth.
- Add half of the sifted powdered sugar and mix. Then add the rest along with the vanilla essence. Mix a little more, then beat for 1 minute in the mixer until smooth.
- Divide into 2 pots of 12,3 oz (300 g) each and 1 pot of 5.2 oz (150g).
Assembly
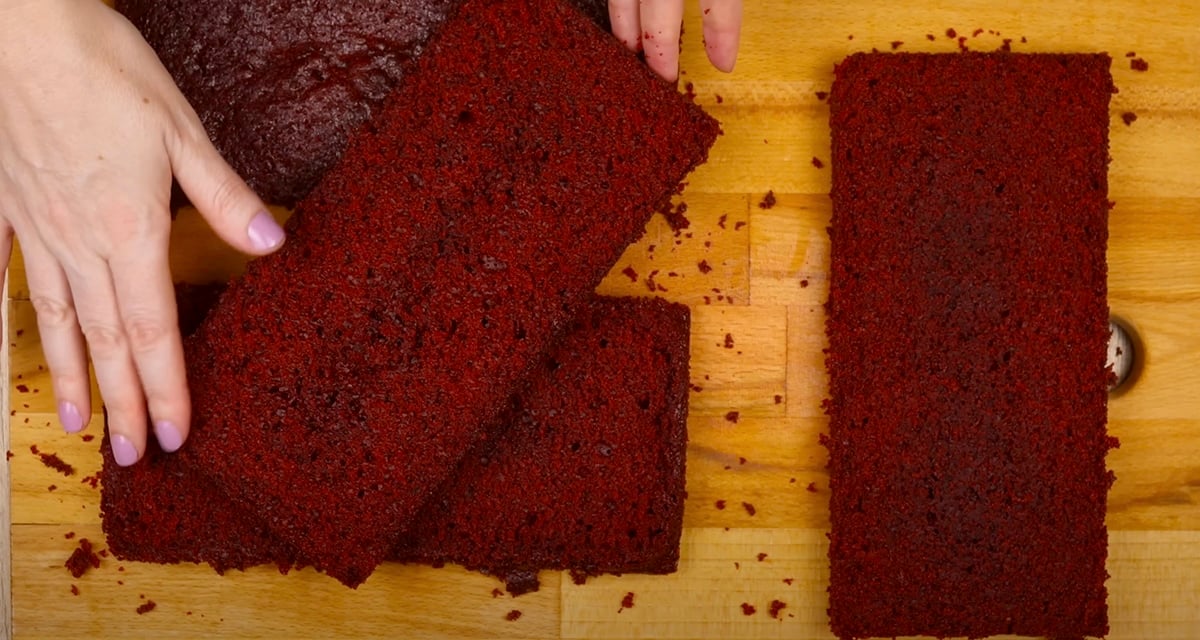
- Cut the cake into 3 equal parts, removing the top.
- Crumble the top and set aside.
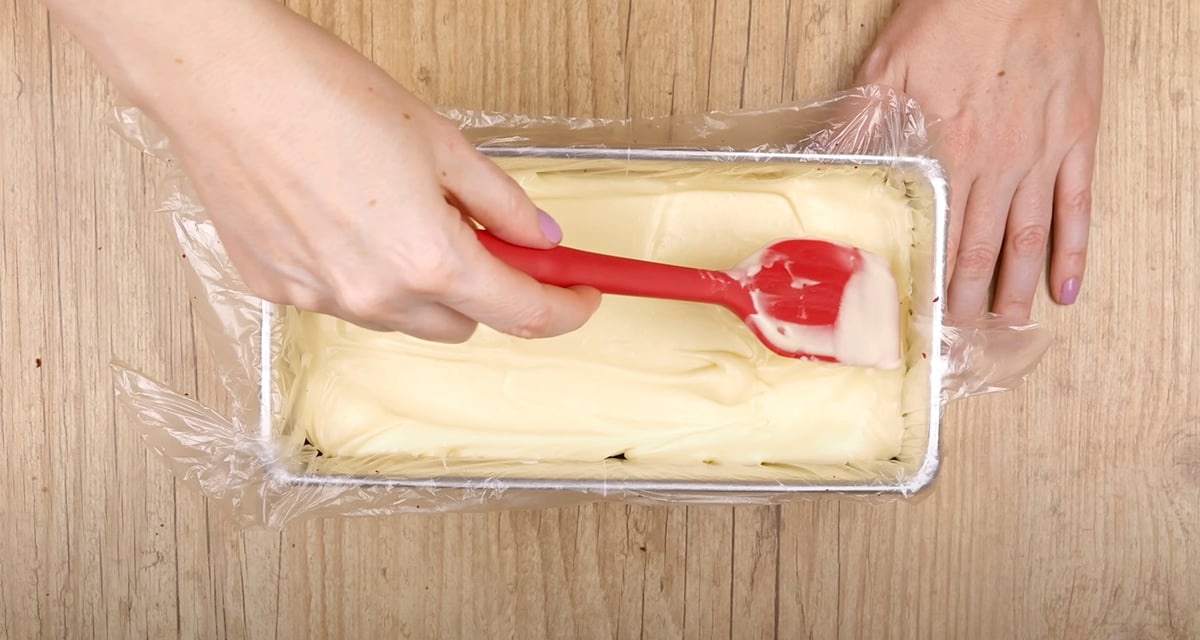
- Take the pan that baked the cake and line it with a wrap plastic suitable for food.
- Place a layer of dough on the bottom; it is important that it is very smooth.
- Add the 10.5 oz (300g) filling.
- Add another layer of dough.
- Add the other 10.5 oz (300g) filling.
- Add the last layer of dough.
- Cover and refrigerate for at least 3 hours.
- Unmold the cake by turning it on a cutting board.
- Spread 5.2 oz (150g) of cream cheese on top and decorate with the crumbled cake.
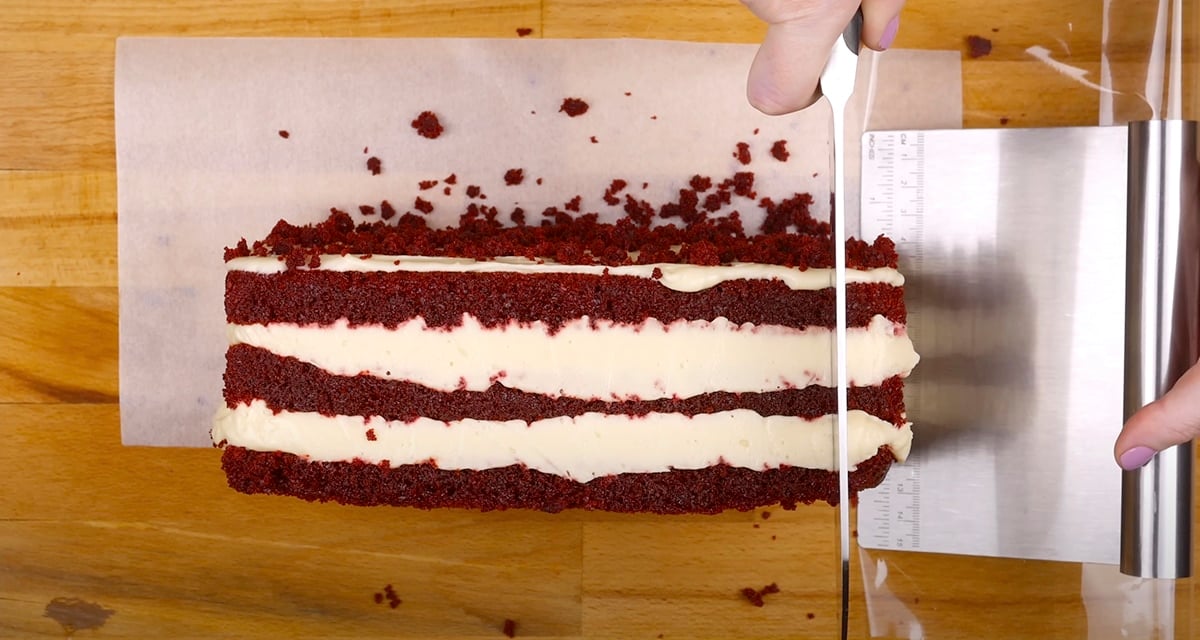
- Turn it on its side on a sheet of parchment paper to slice without messing up the dough.
Packaging
- I used cellophane paper (it comes in the size of approximately 33.46in x 39.37 in (85cmx100cm) and cut it to the size of approximately 11.02in x 9.84in (28cmx25cm)
- Take a spatula and fold the cellophane paper; this will make it much easier.
- Cut the cake into approximately 0.79in (2 cm) slices and place them on the cellophane paper.
- It is always very important to wash the knife after each cut.
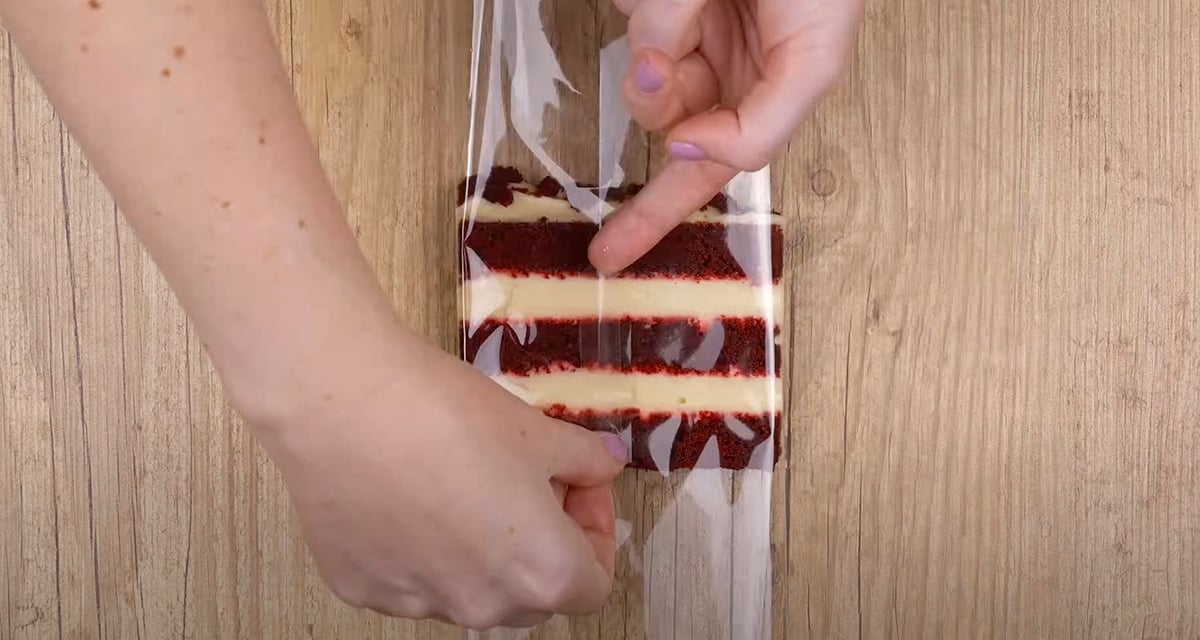
- Fold the cellophane paper over the cake and use your fingers to gently press it down to make it stick.
- Seal it with tape, fold the edges like a present, and also use adhesive tape.
Notes
Tips:
– For cake slice packaging, there is also a slightly plasticized cardboard sheet available to place this type of cake, which makes it even more protected, as well as small boxes. You can find them in confectionery stores or online websites.
Shelf Life:
5 days if stored in the refrigerator,
90 days if stored in the freezer.

5 days if stored in the refrigerator,
90 days if stored in the freezer.
